How your prosthetic leg is made, step by step
A prosthetic leg is made around one person's stump, so most of the work happens before you see the finished leg. Here is every step, what happens at each visit, and why we never skip the clear test socket.
- Free first assessment
- Test socket before the final leg
- Call or WhatsApp 24/7
Step 1: free assessment
We look at the stump: its length and shape, the scar and the skin, any tender or bony areas. We check how well the knee and hip move, your strength and your balance, and the health of your other leg. We ask about diabetes, blood pressure, medicines and how you hope to walk: around the house, to the mosque, to work, or further.
From that we recommend a level of leg, the parts that suit you and a firm price. You do not pay for this visit, and you are free to go away and think about it.
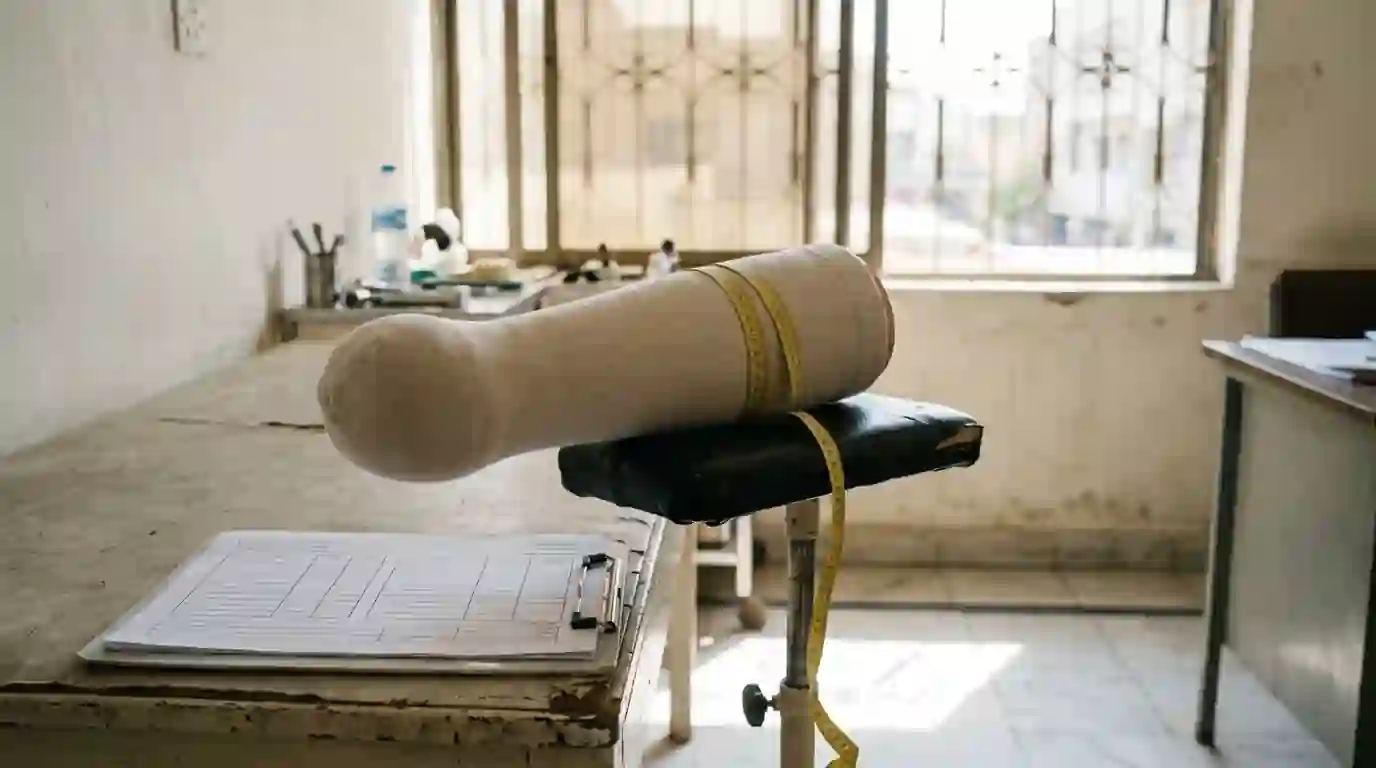
Step 2: casting
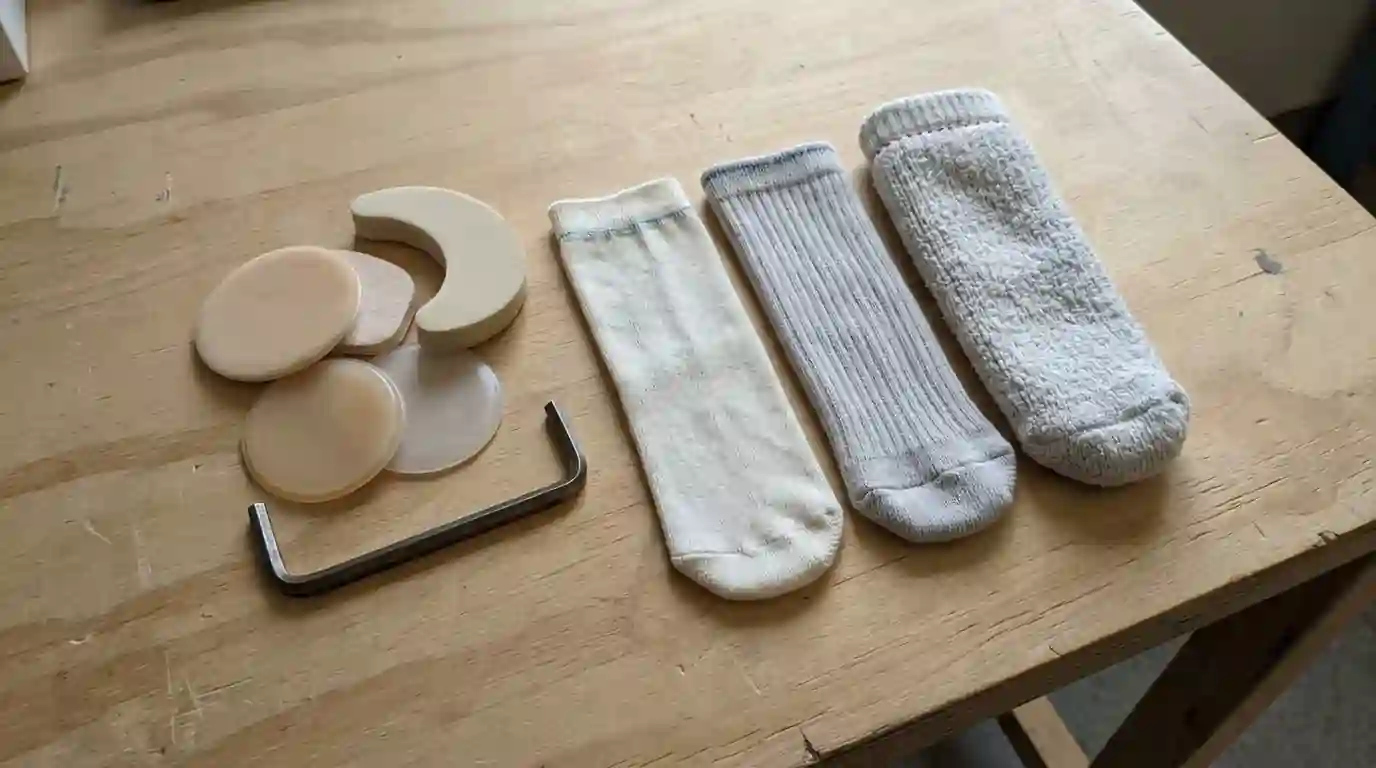
A thin sock goes over the stump, and plaster bandage is wrapped over it while we hold and shape it with our hands. For a below-knee leg the knee is slightly bent; for an above-knee leg we shape carefully around the sitting bone and the groin. Pencil marks over the bones transfer onto the cast.
The cast is filled to make a solid model of your stump. We then shape that model by hand, adding or removing material so the socket presses where the stump can take weight and stays clear where it cannot.
Step 3: the clear test socket
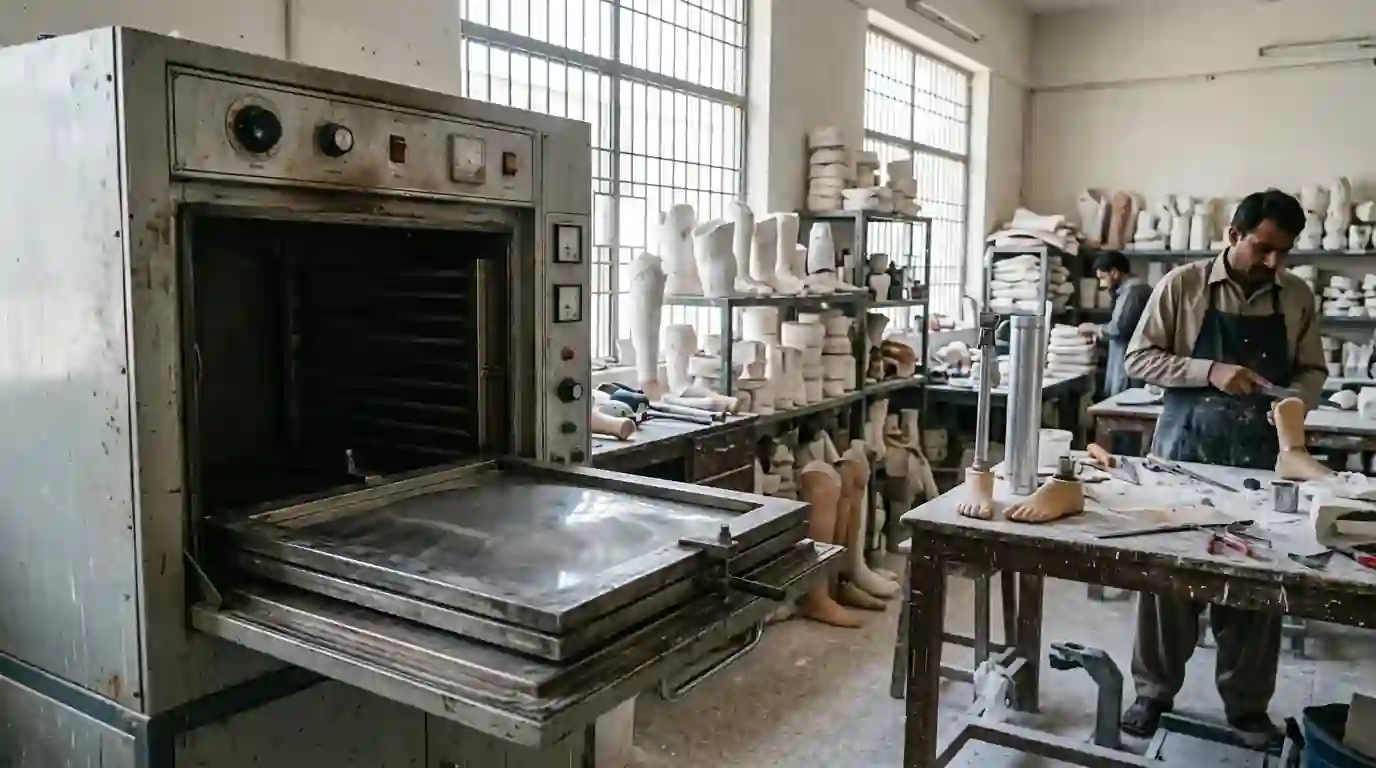
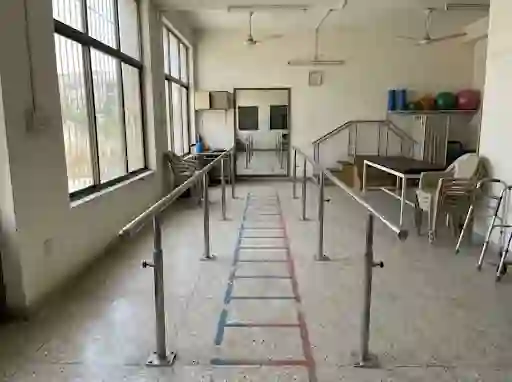
Heated clear plastic is pulled over the model to make a test socket, also called a check socket. You put it on, stand and take steps between the parallel bars. Because it is clear, we can see the skin through it: white where it presses, red where it rubs, gaps where it does not touch.
We mark the changes and correct the model, and sometimes make a second test socket. This is the single most important step in the whole process. It is why our sockets rarely need remaking.
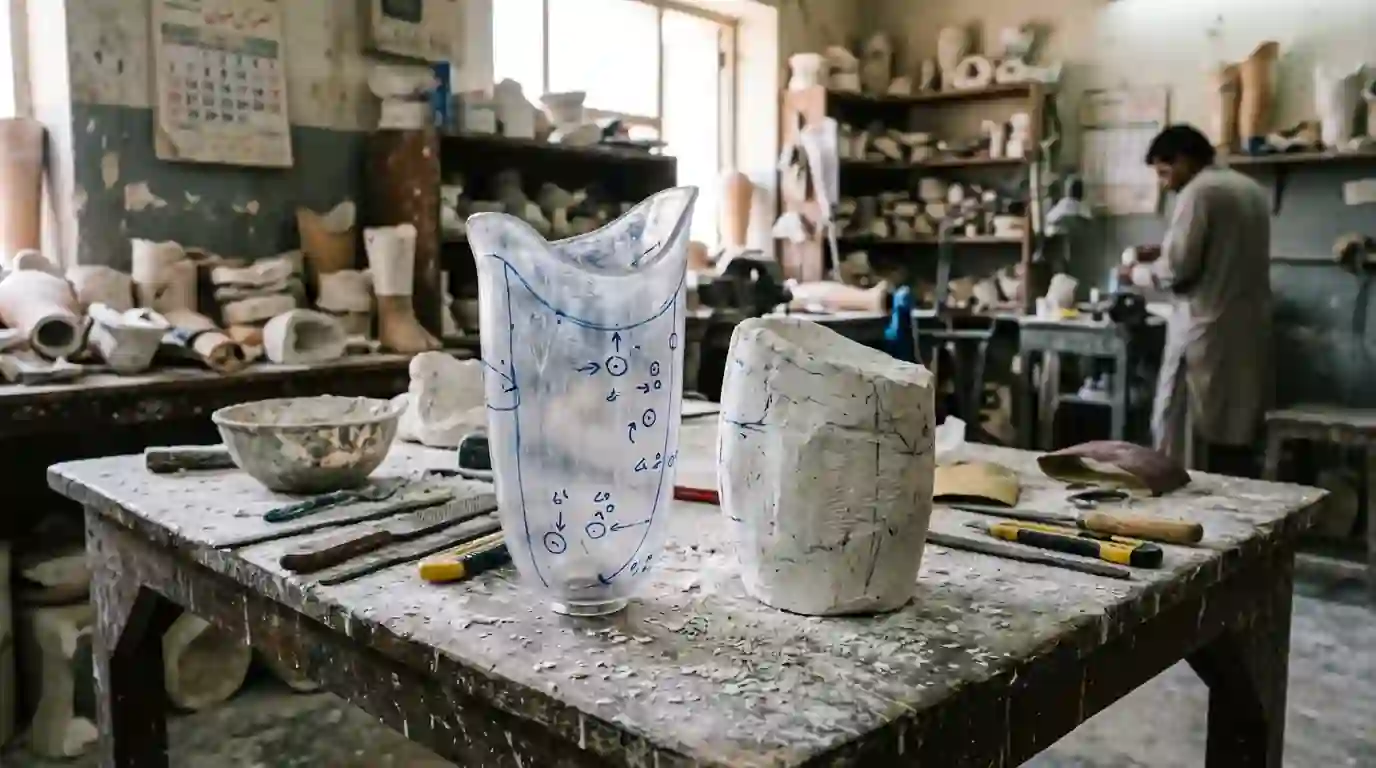
Step 4: the final socket and assembly
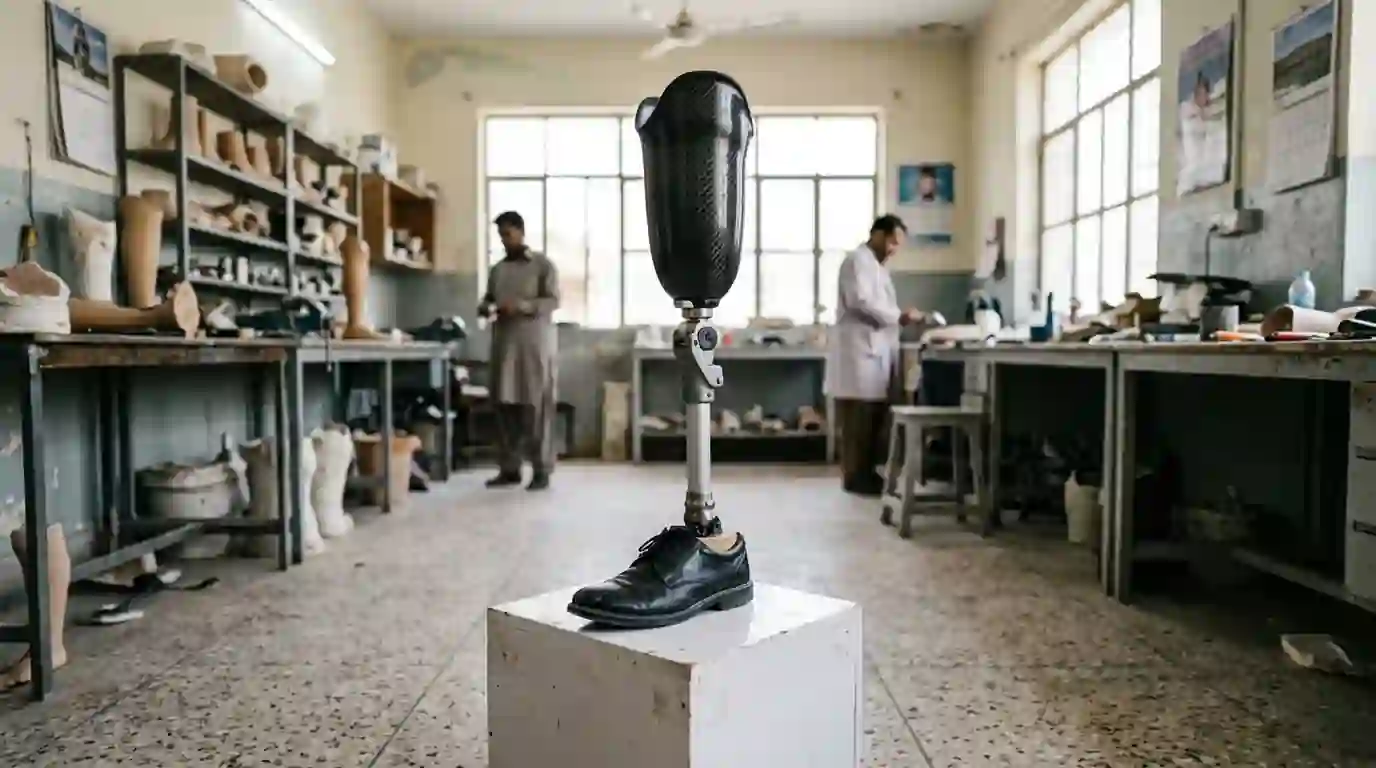
The final socket is laminated in layers of fabric, carbon and resin over the corrected model, or formed in strong thermoplastic. It is trimmed, smoothed and finished inside so nothing rubs. Then the parts are attached: the adapter, the pylon, the knee if you need one, and the foot.
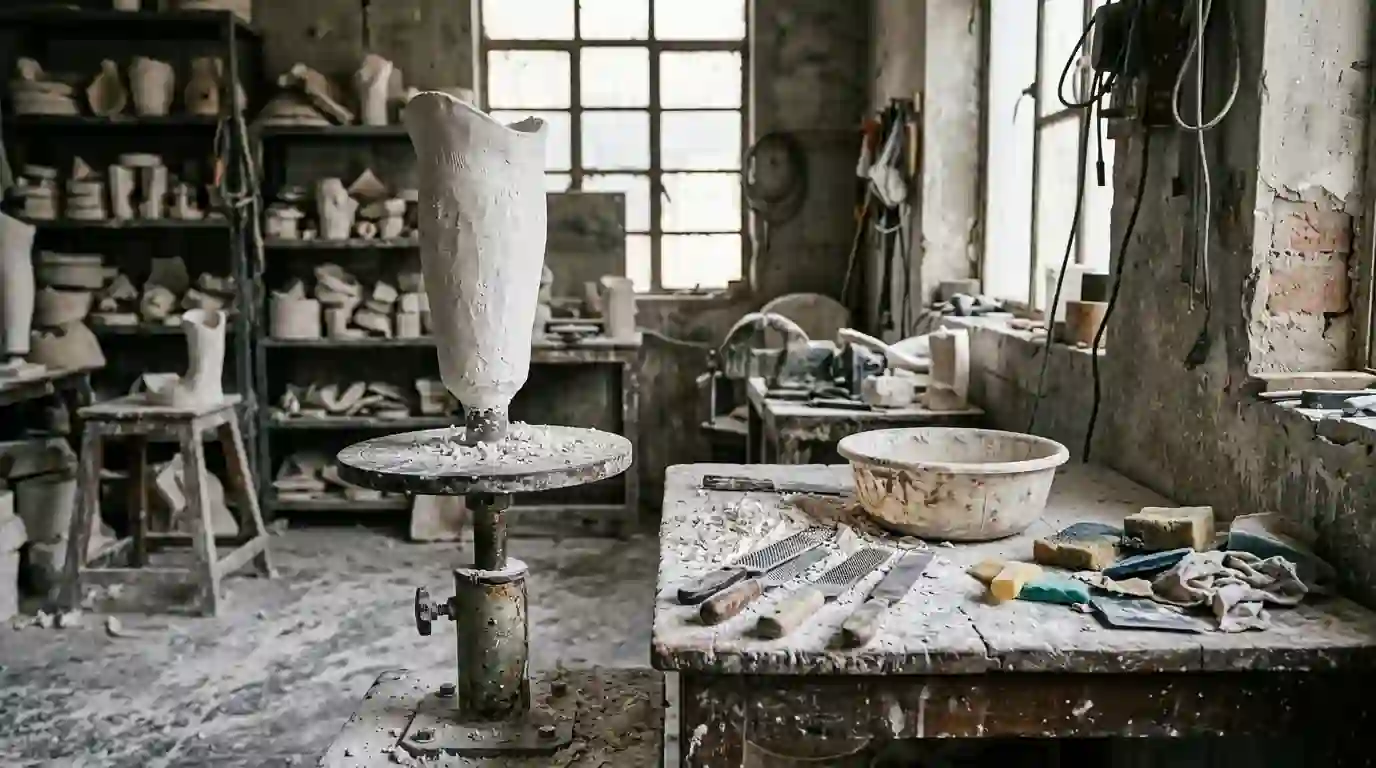
Step 5: alignment and fitting
The same parts lined up a few degrees differently can feel like a different leg. Alignment is done in stages:
- 1
Bench alignment
The leg is set up on the bench to standard angles for your height and level.
- 2
Standing alignment
You stand in the leg and we adjust so your weight falls through the right line.
- 3
Walking alignment
You walk between the bars while we fine-tune the angles and the length, step by step.
- 4
Final check
Skin checked after walking, then the leg is tightened to the right torque.
After you take the leg home
Questions about the process
How many visits does it take to get a prosthetic leg?
Usually three to five: the assessment and cast, the test socket, the fitting, and one or more training and check-up visits. Patients travelling from other cities can often have visits on consecutive days.
Can the cast and assessment be done on the same day?
Often yes, if the stump is ready and you agree the plan and price. If the wound is not fully healed, we will advise you and ask you to come back.
Why do you make a test socket instead of the final socket straight away?
Because no cast is perfect. A clear test socket shows exactly where the stump presses and where there are gaps. Correcting the shape at this stage avoids sores and a second socket later.
Does casting hurt?
No. The plaster bandage is wrapped over a thin sock on the stump and feels warm as it sets. It takes about ten to fifteen minutes.
Read next
Not sure this is the right leg for you?
Send a photo of the stump and a line about your health on WhatsApp. We will tell you honestly what fits, and what it is likely to cost, before you travel or pay anything.